

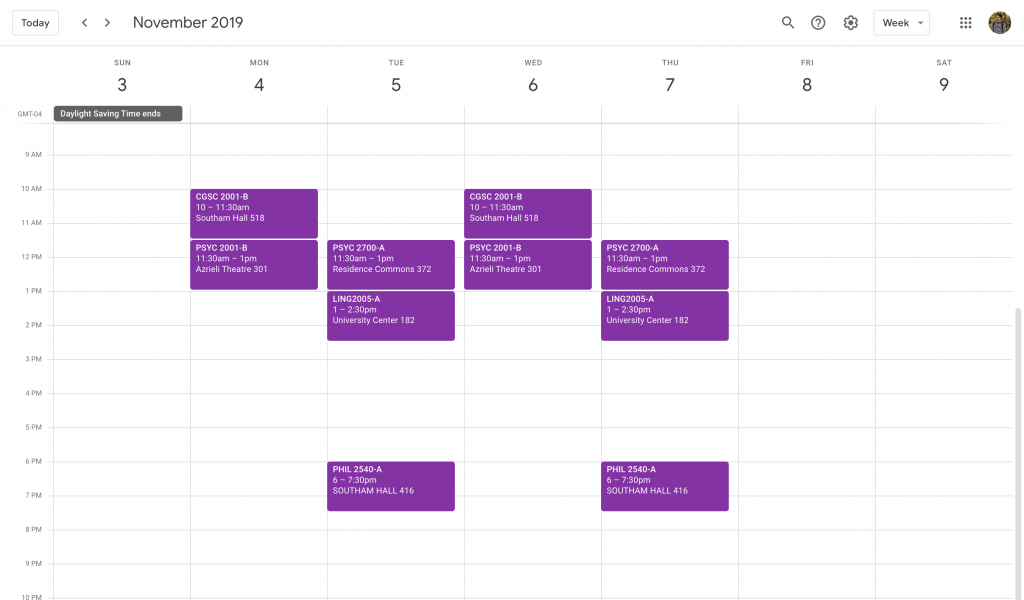
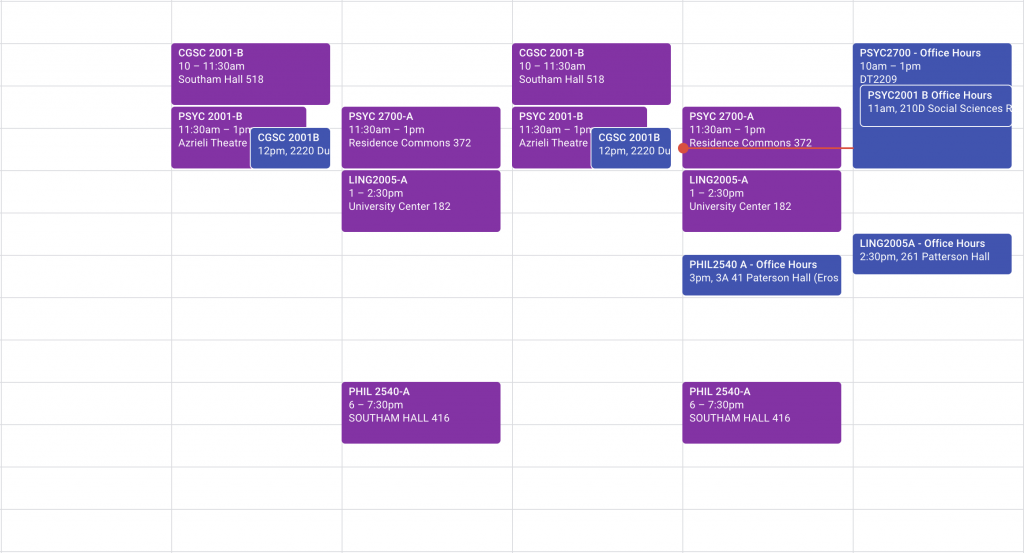
University is a complicated beast. It feels like there’s a million things you need to keep track of at all times. Trying to store all your plans, responsibilities, classes, assignments, tests etc. in your head is a recipe for disaster. The goal of this tutorial is to take all the information that would be bouncing around your head stressing you out into one spot where you won’t have to worry about forgetting it. I’ll be showing you how you can organize your google calendar into something that looks like this:
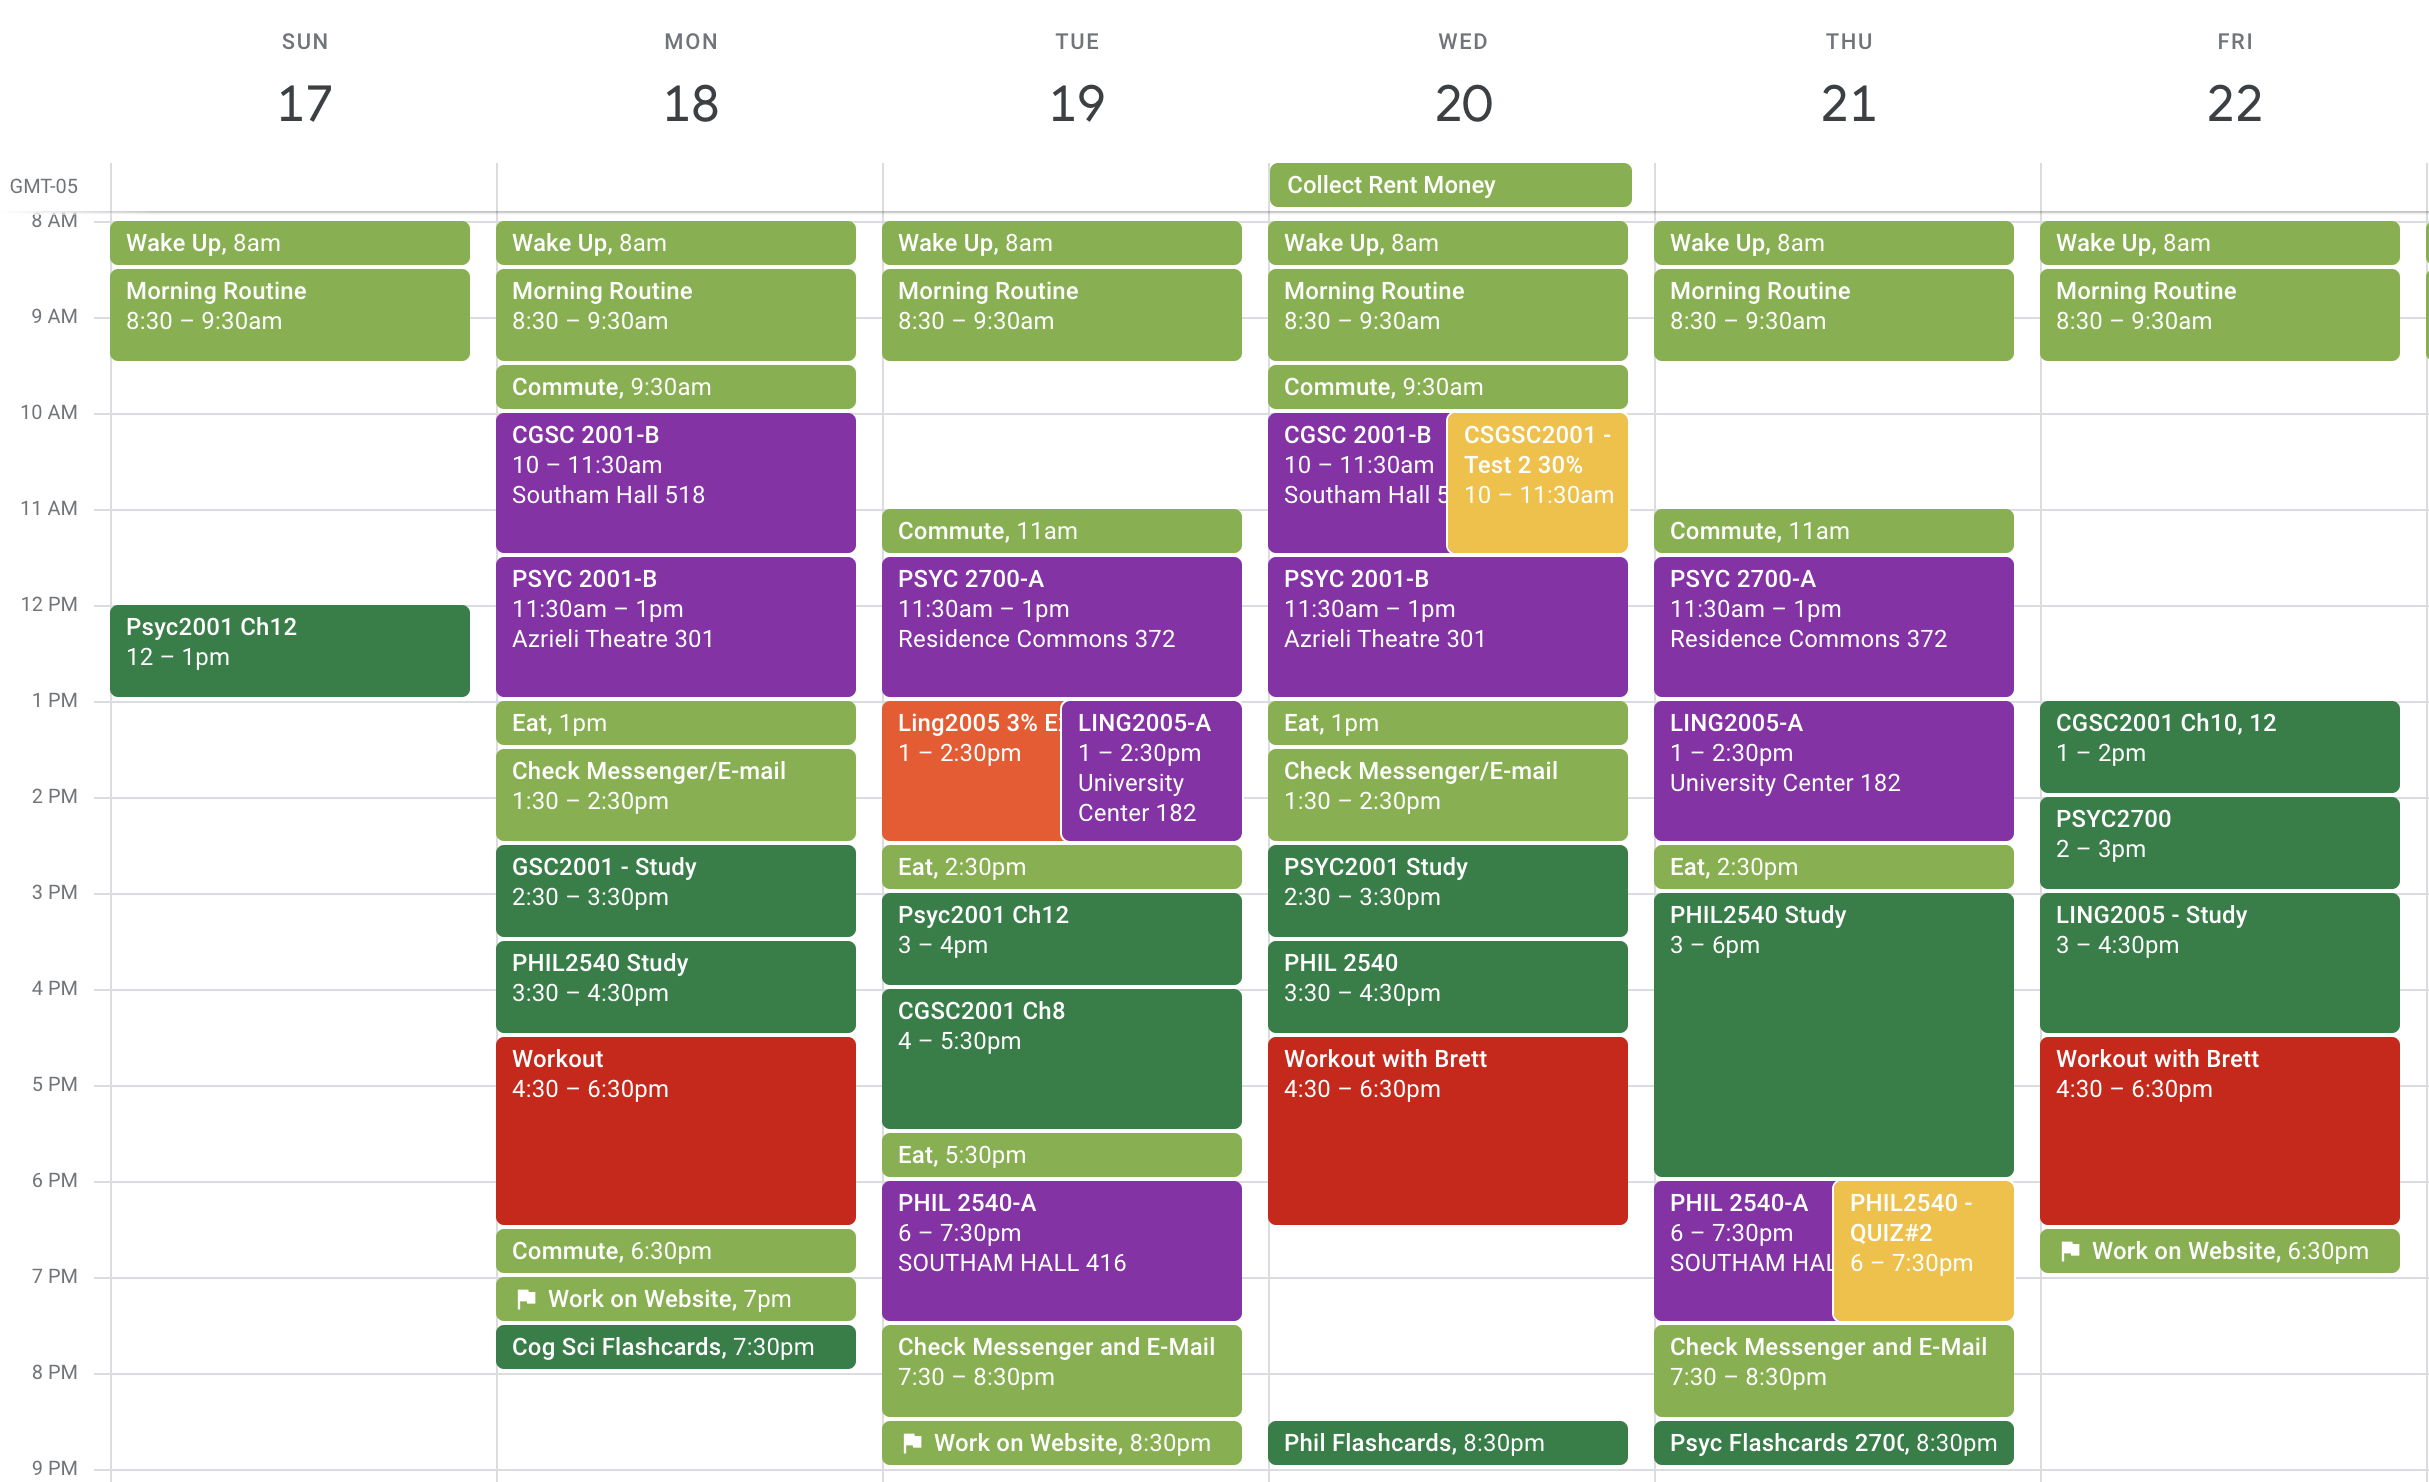
This might look complicated right now, but by the end of this you’ll be able to look at a calendar of your own and see everything happening in your upcoming week at a glance.
1. Make a Google Account if You Don’t Have One Already
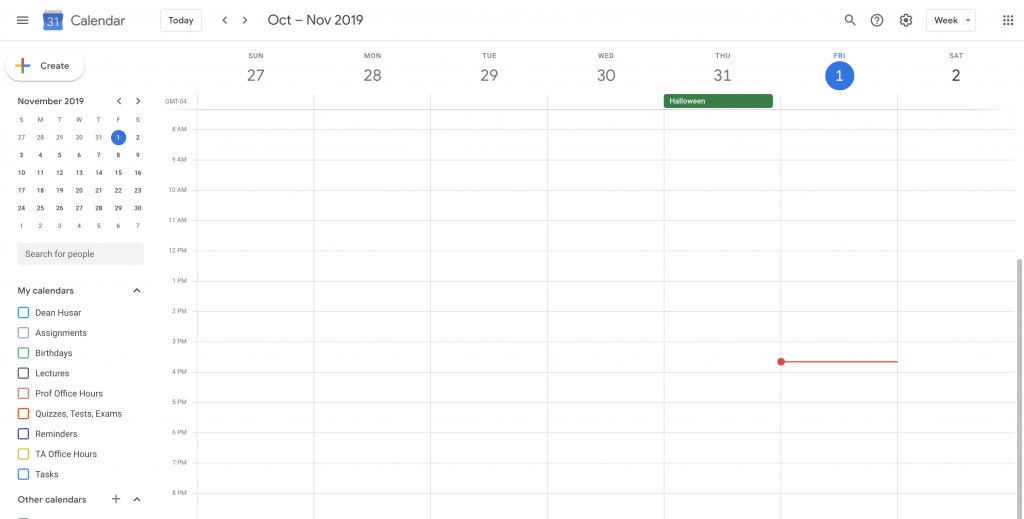
2. Head to GoogleCalendar.com
It Should look something like this
3. Pull Up All Your Courses Syllabi
You’ll need all your course outlines in an easily accessible window for when you’re transferring information.
4. Create A New Calendar
Here we’ll be creating different calendars to track all the relevant factors you’ll need to know for each class.
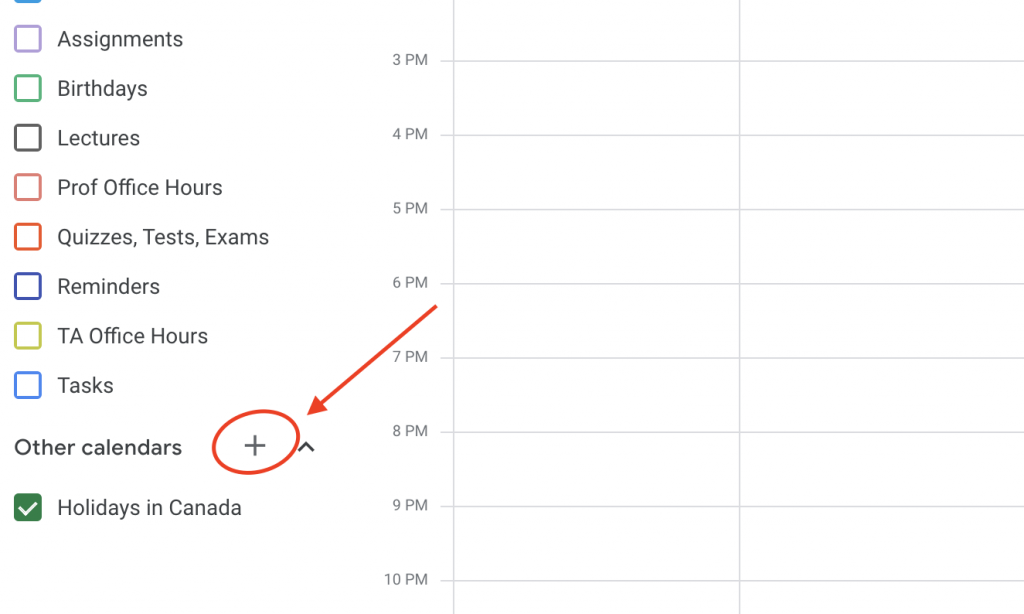
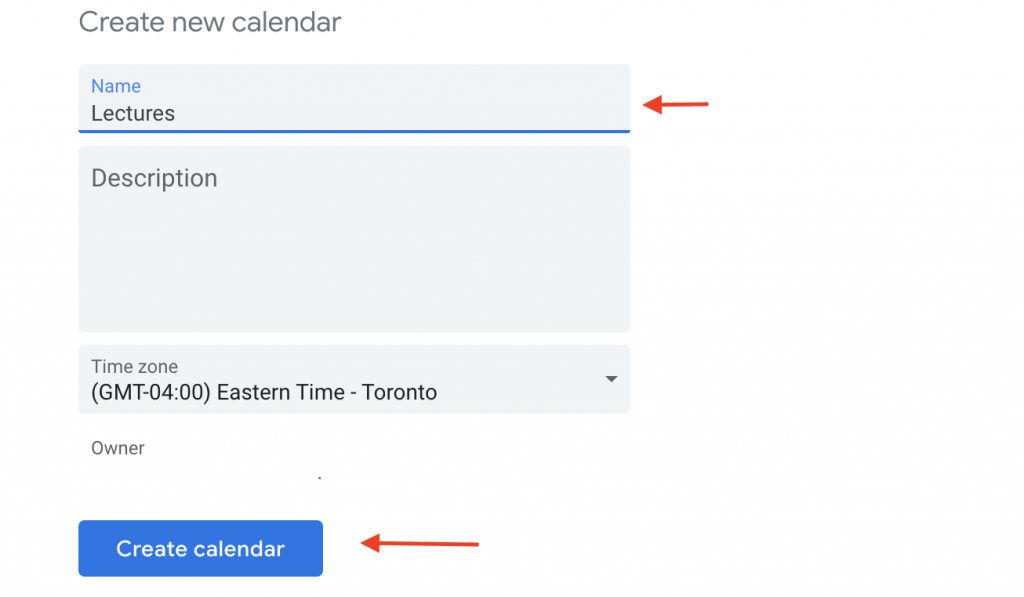
Head to the left side of Google Calendar and create a new calendar.
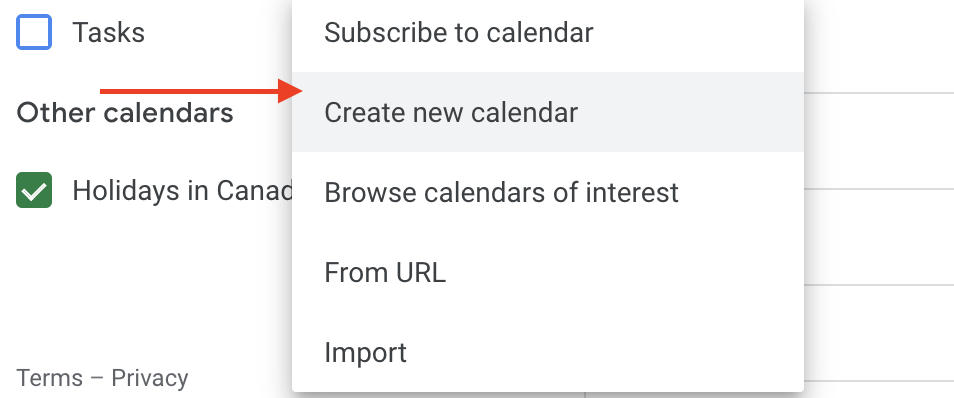
Call this one Lectures and hit Create Calendar
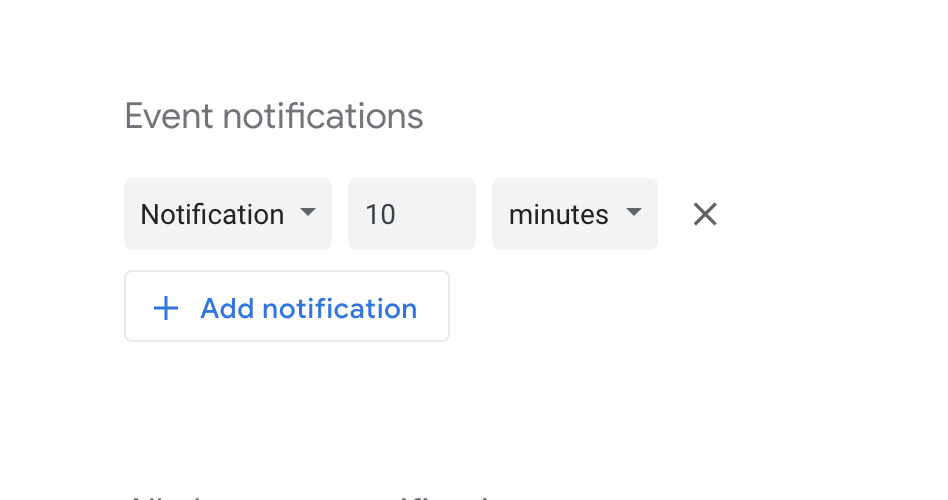
5. Set Up Reminders
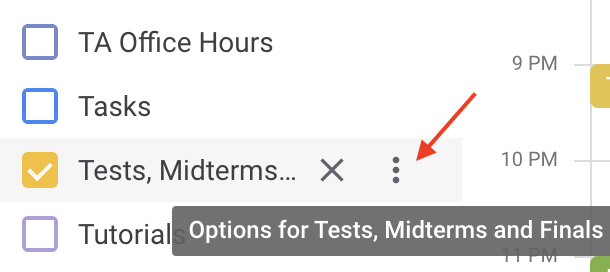
Navigate to your new calendars settings. Located on the left side of the calendar.

As you can see the Notification time defaults to 10 minutes before, we can leave this as is.
6. Rinse and Repeat!
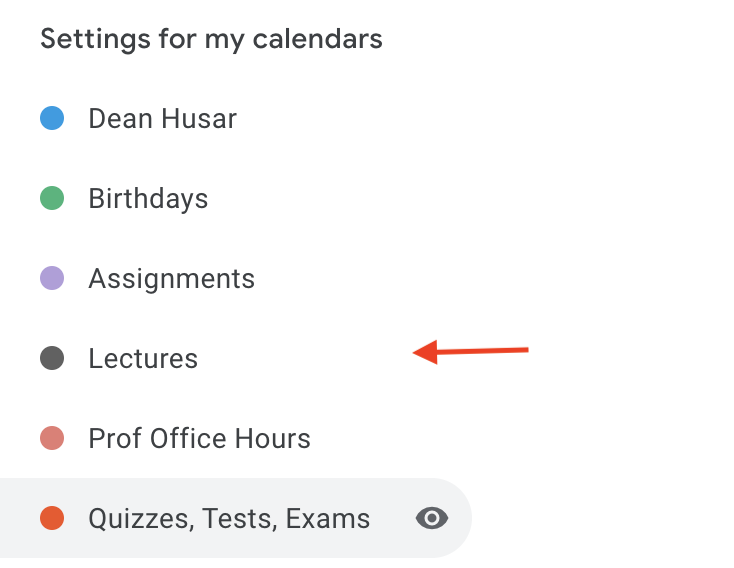
Now you’ll be creating new calendars for the following items:
Tutorials or Labs
You’ll want to know when and where these are especially if attendance is marked.
Quizzes/Tests/Midterms/Finals
You’ll want to know about these far in advance so I highly recommend setting up separate notifications for 2 weeks in advance, 1 week in advance, 3 Days in Advance, 1 Day in Advance, 1 hour in advance and 10 minutes in advance. For most courses these are the bulk of your final grade so you do not want to forget about them.
Assignment Dates
You can tailor this to how much weight your courses give to assignments but I’d recommend setting up notifications for 1 week before, 3 days before, 1 hour before.
TA Office Hours
Notifications aren’t necessary for this calendar.
Professor Office Hours
Ditto.
Fun
This is where you’ll put all your social events, dates, concerts etc. Give yourself a notification 1 hour in advance for these
7. Add In Lecture Times and Tutorials
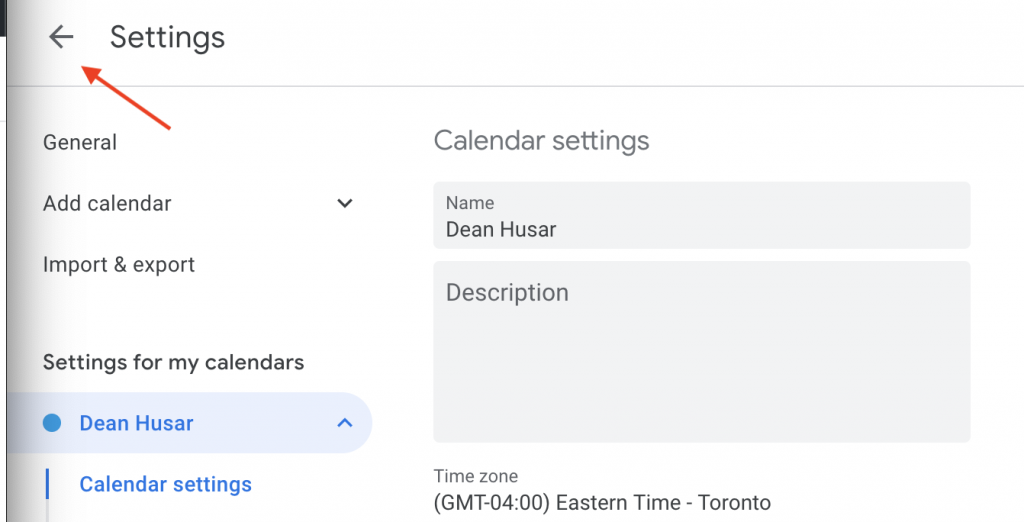
Here’s where we’ll start inputting all the information from your syllabi. Lets say we want to add in the lecture times for our class PSYC1001 11:00AM-12:30PM Mondays and Wednesdays. We’d start off by exiting to the calendar view by clicking the back arrow.
Next, make sure you’re in the week view.
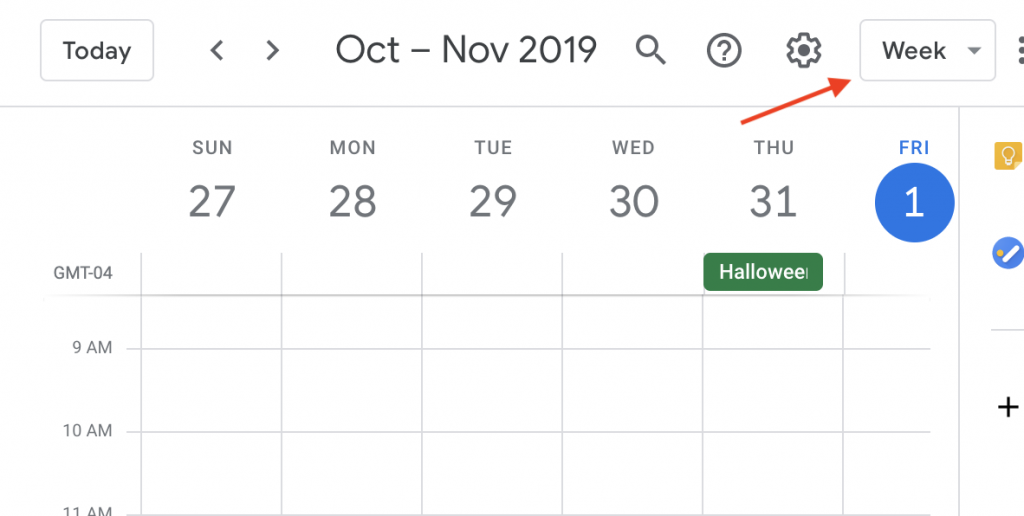
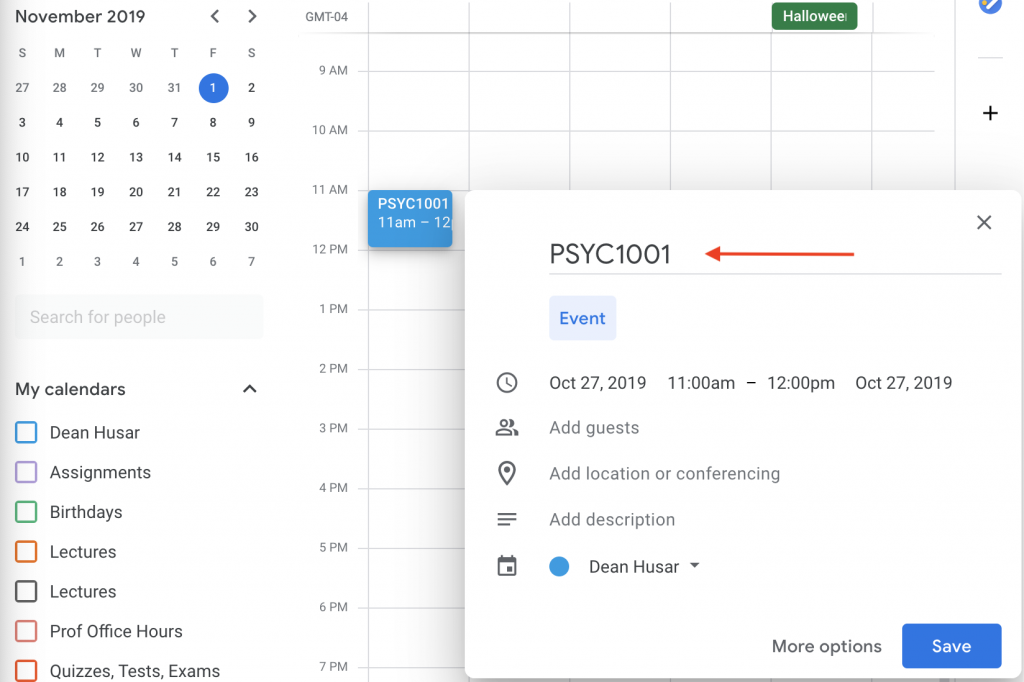
Head to Monday at 11AM, click there and a box should pop up and you can start creating an event. Start by naming it after your course.
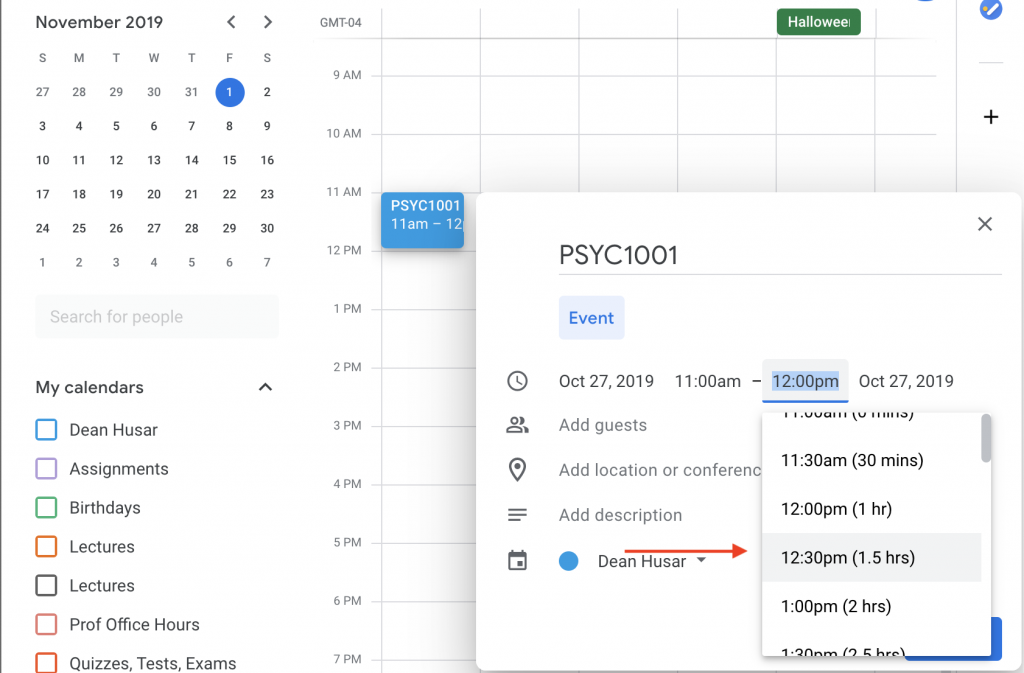
Next Change the time by clicking on 12:00pm, select the correct end time.
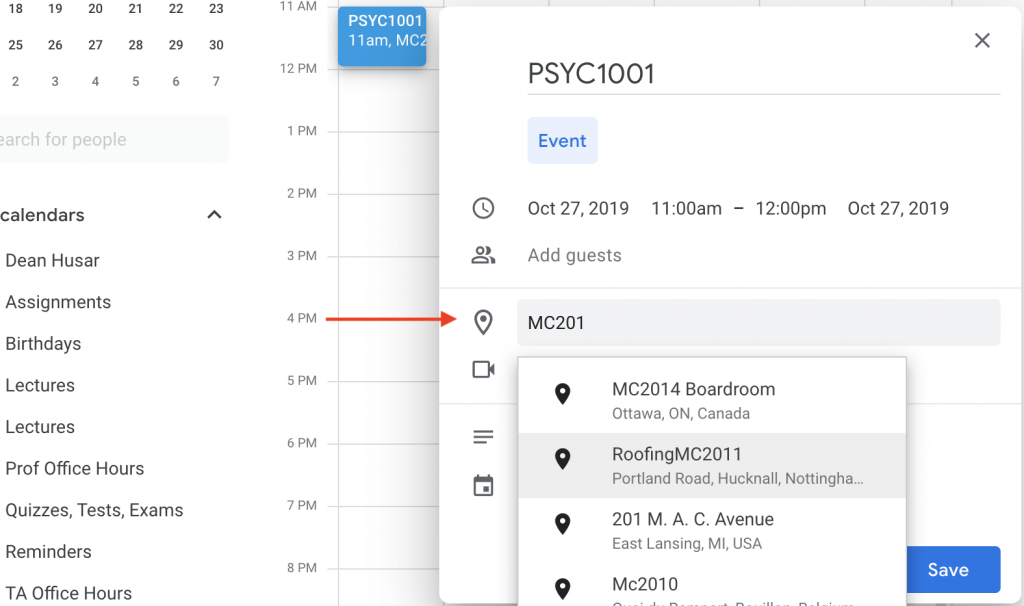
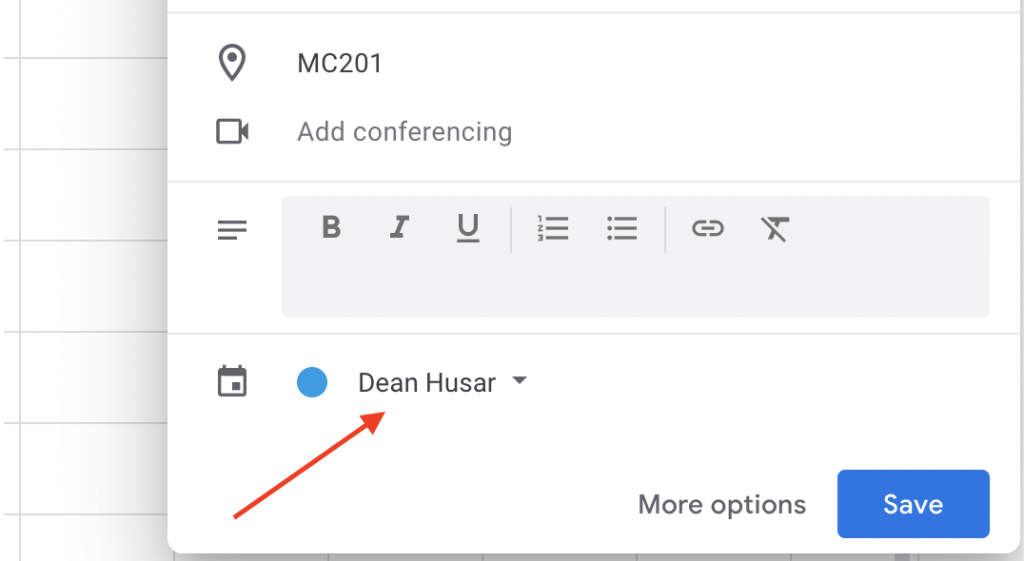
Next, add the location of the lecture.
Now, click the calendar wheel and select the correct calendar.
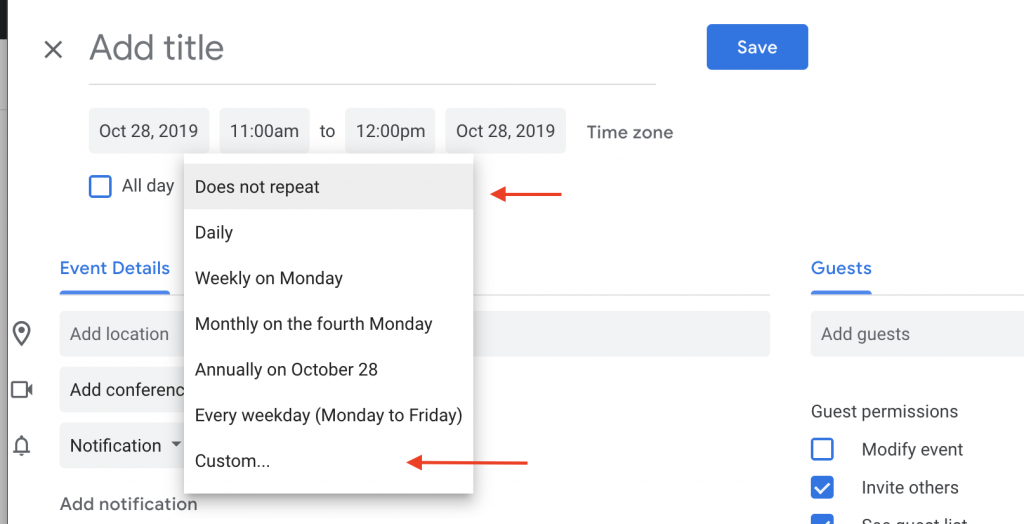
Almost done, now we’ll be making sure the lecture time repeats the right amount of times. Select “More Options”. Hit “Does not Repeat” and then “Custom”.
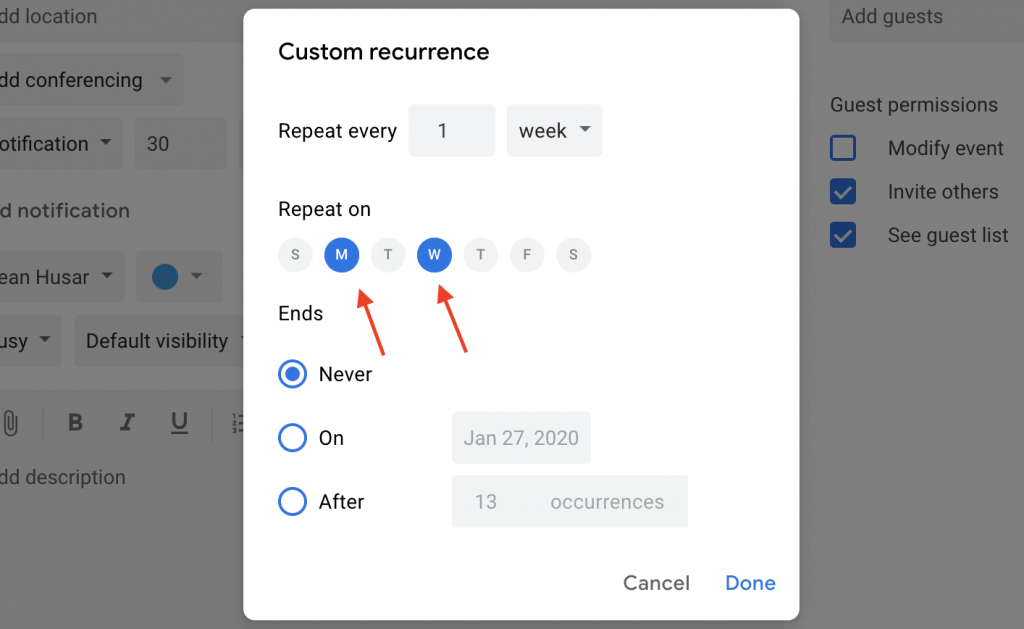
Select the Days you want the lecture to repeat on.
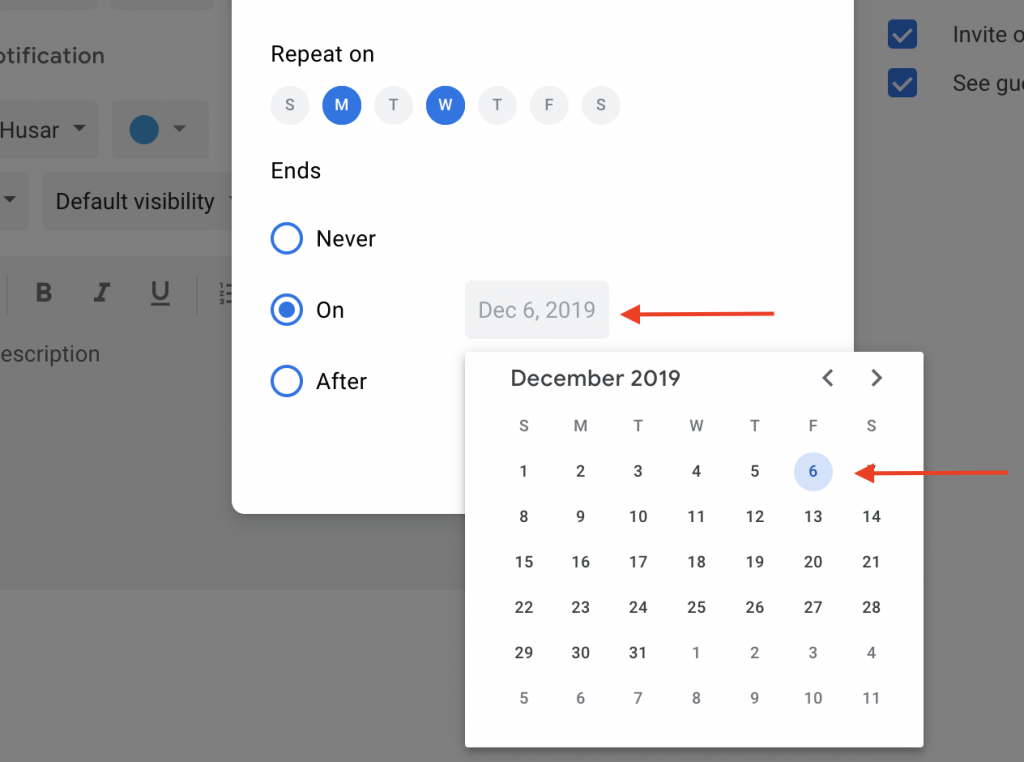
Next, find out the last day of classes and enter that into the Ends on Tab
Perfect, now this lecture should show up on the correct days and times for the rest of your semester. You’ll always be reminded of your lectures 10 minutes before they occur and know where they’re located.
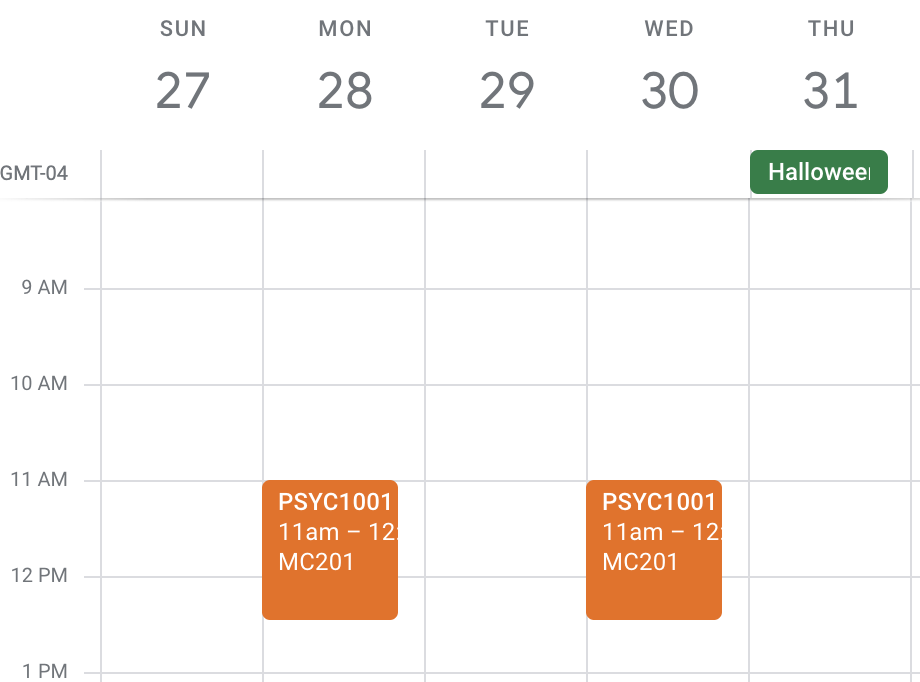
Repeat this step for all your lecture times until your calendar looks something like this.
8. Repeat the Previous Steps for TA and Professor Office Hours in Separate Calendars
You’ll want to have separate calendars for your TA and Professor Office Hours as depending on the course some of your questions will be better answered by one group or the other. Once all the data has been entered, you’ll be able to see all your TA and Prof office hours at the click of a button as shown below.
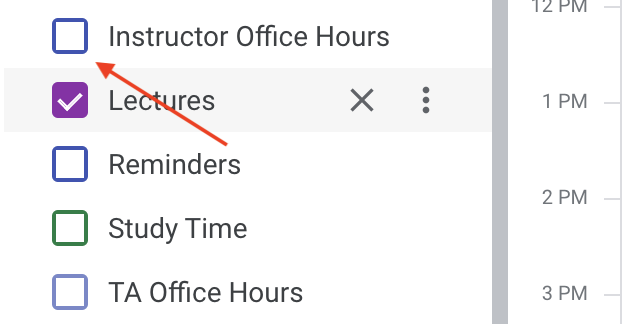
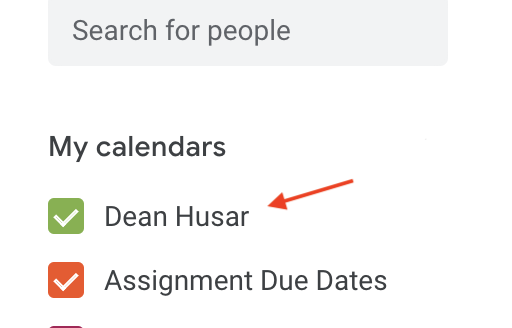
Under the “My Calendars” tab on the left side of your google calendar, toggling this off will allow you to see just your courses.
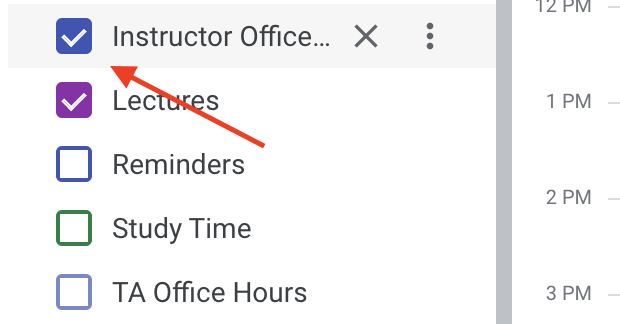
Toggling it on will allow you to see all your office hours.
You can repeat the same steps for tutorials.
9. Enter in Your Assignment Due Dates For the Semester
Next, you’ll be going through all your course outlines and entering all your assignments into your calendar at their specific due date and time. Make sure they’re in the right calendar. Don’t forget to include the % of your final grade it’s worth.

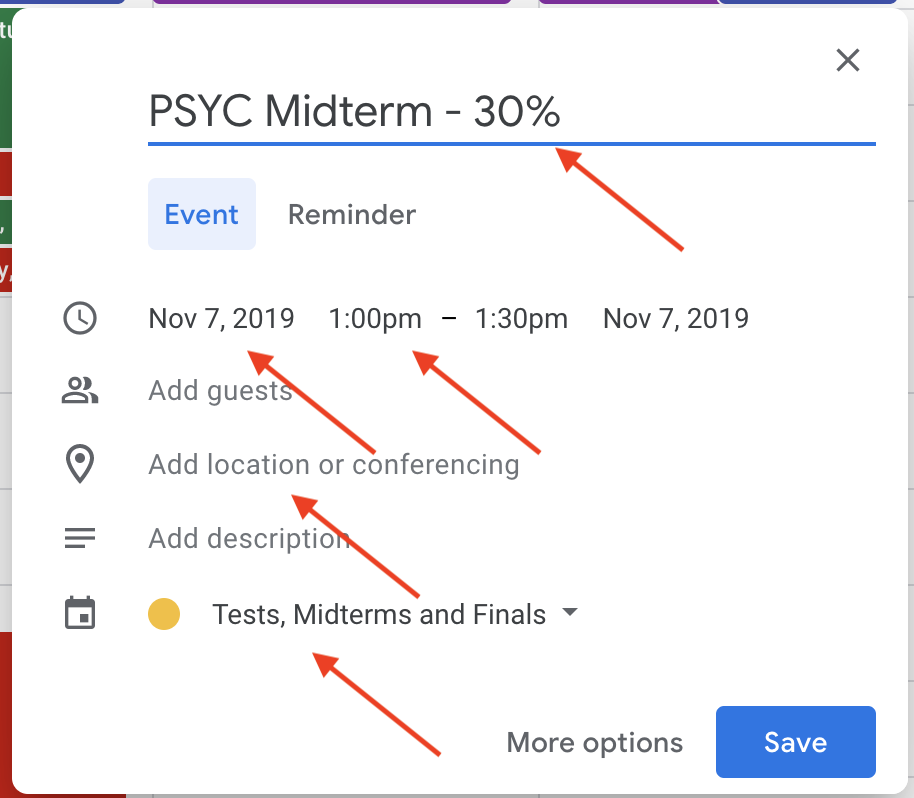
10. Enter in Your Tests, Midterms and Final Exam Dates and Times
For most courses these items will be the bulk of your mark, you’re going to want to know about them well in advance.You’ll need to know how much they’re worth, when and where they’re happening. Take all your tests, midterms and finals from your syllabi and add each date and time to this calendar.
11. Study Time
Here’s where you’ll be filling in the empty space in your calendar. You want to estimate how much time per week you’ll need to dedicate to each class and enter in times you’d like to dedicate to studying specific classes. I recommend weekly repeating study times to save time entering them all in.
12. Everything Else
You’ll want to put every other repeating weekly event you have e.g. wakeup/sleep times, meals, exercise etc. into your personal calendar which will be titled after your first and last name.
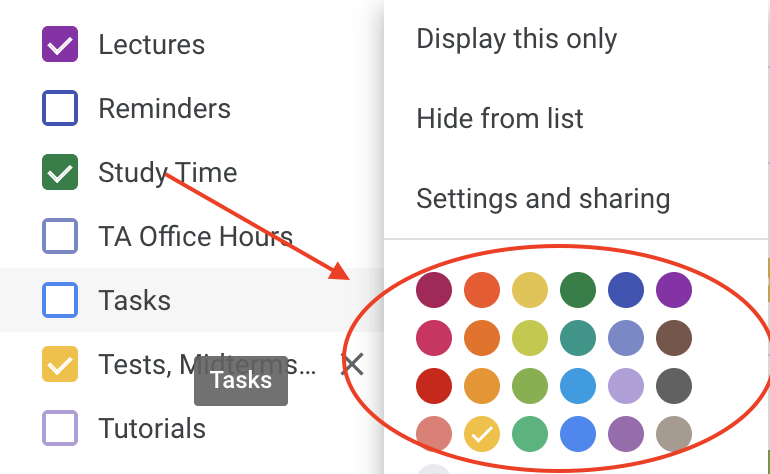
13. Finishing Touches
Now you can finish off your calendar by customizing the colours for each calendar you have. Pick one’s that contrast each other so seeing the different types of events you have in a day is instantaneous.
ENJOY!!!!
Now all your relevant course information will be in one easily accessible spot. Install the google calendar mobile app on your phone and you’ll get notifications for everything you need to know this semester.